Gherkin
This is a post about the assembly of the Gherkin I bought on mechboards. I plan to use it as a tester keyboard, basically to plug on Raspberry Pis and Adafruit Feathers during development.
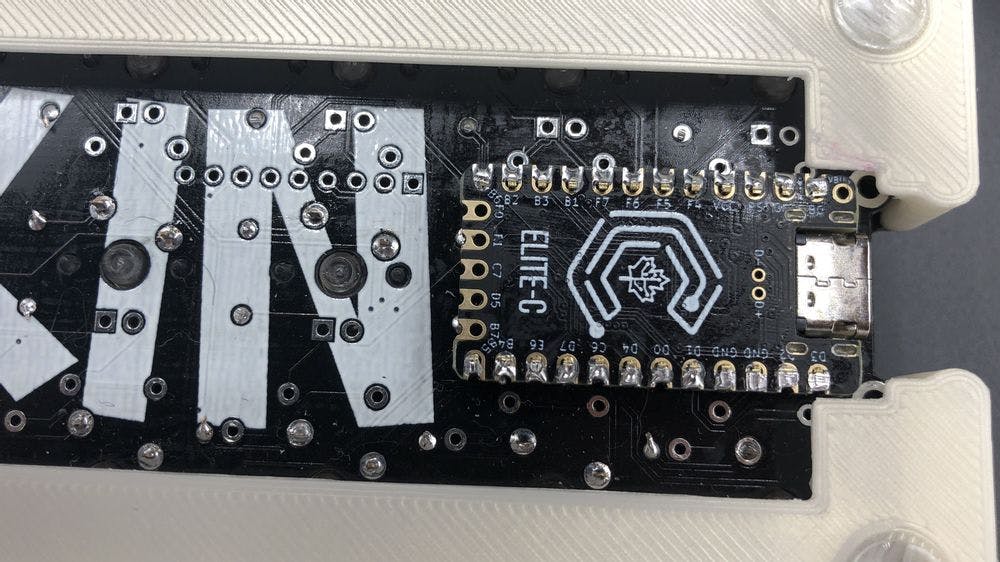
For the assembly i followed the instructions in the 40percentclub website. I didn't need the leds, so I skipped that part (and the resistors for them). Also I didn't have any low profile sockets, so I just soldered the Elite C directly to the board. The choice of chip is unnecessarily expensive, a $5 pro micro would do just fine. The reason for the Elite-C is that I like the USB-C connector and the PCB design.
For the software I just flashed using the default QMK file for the Gherkin in the QMK Toolbox. I plan on using the default layout for a little while before making any changes.
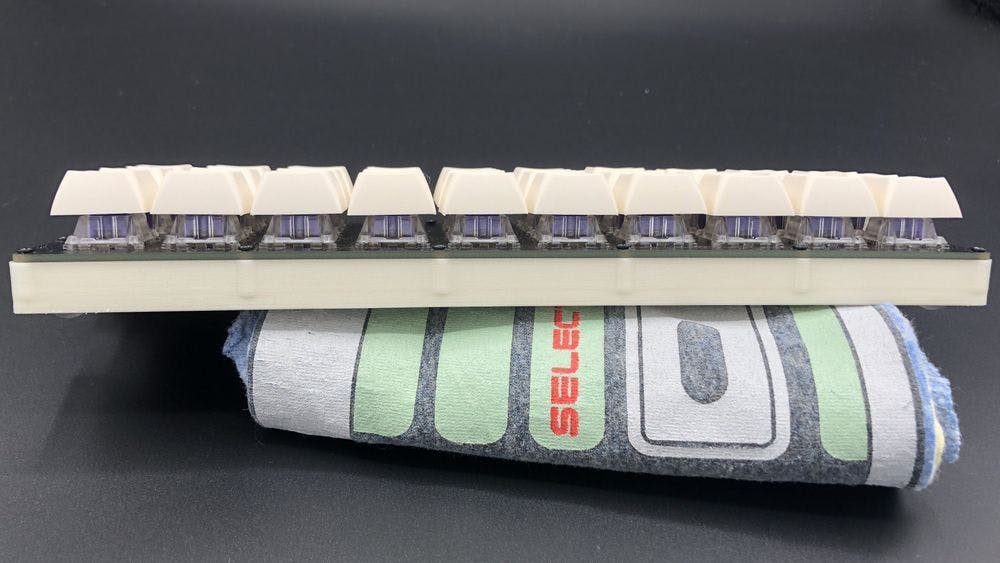
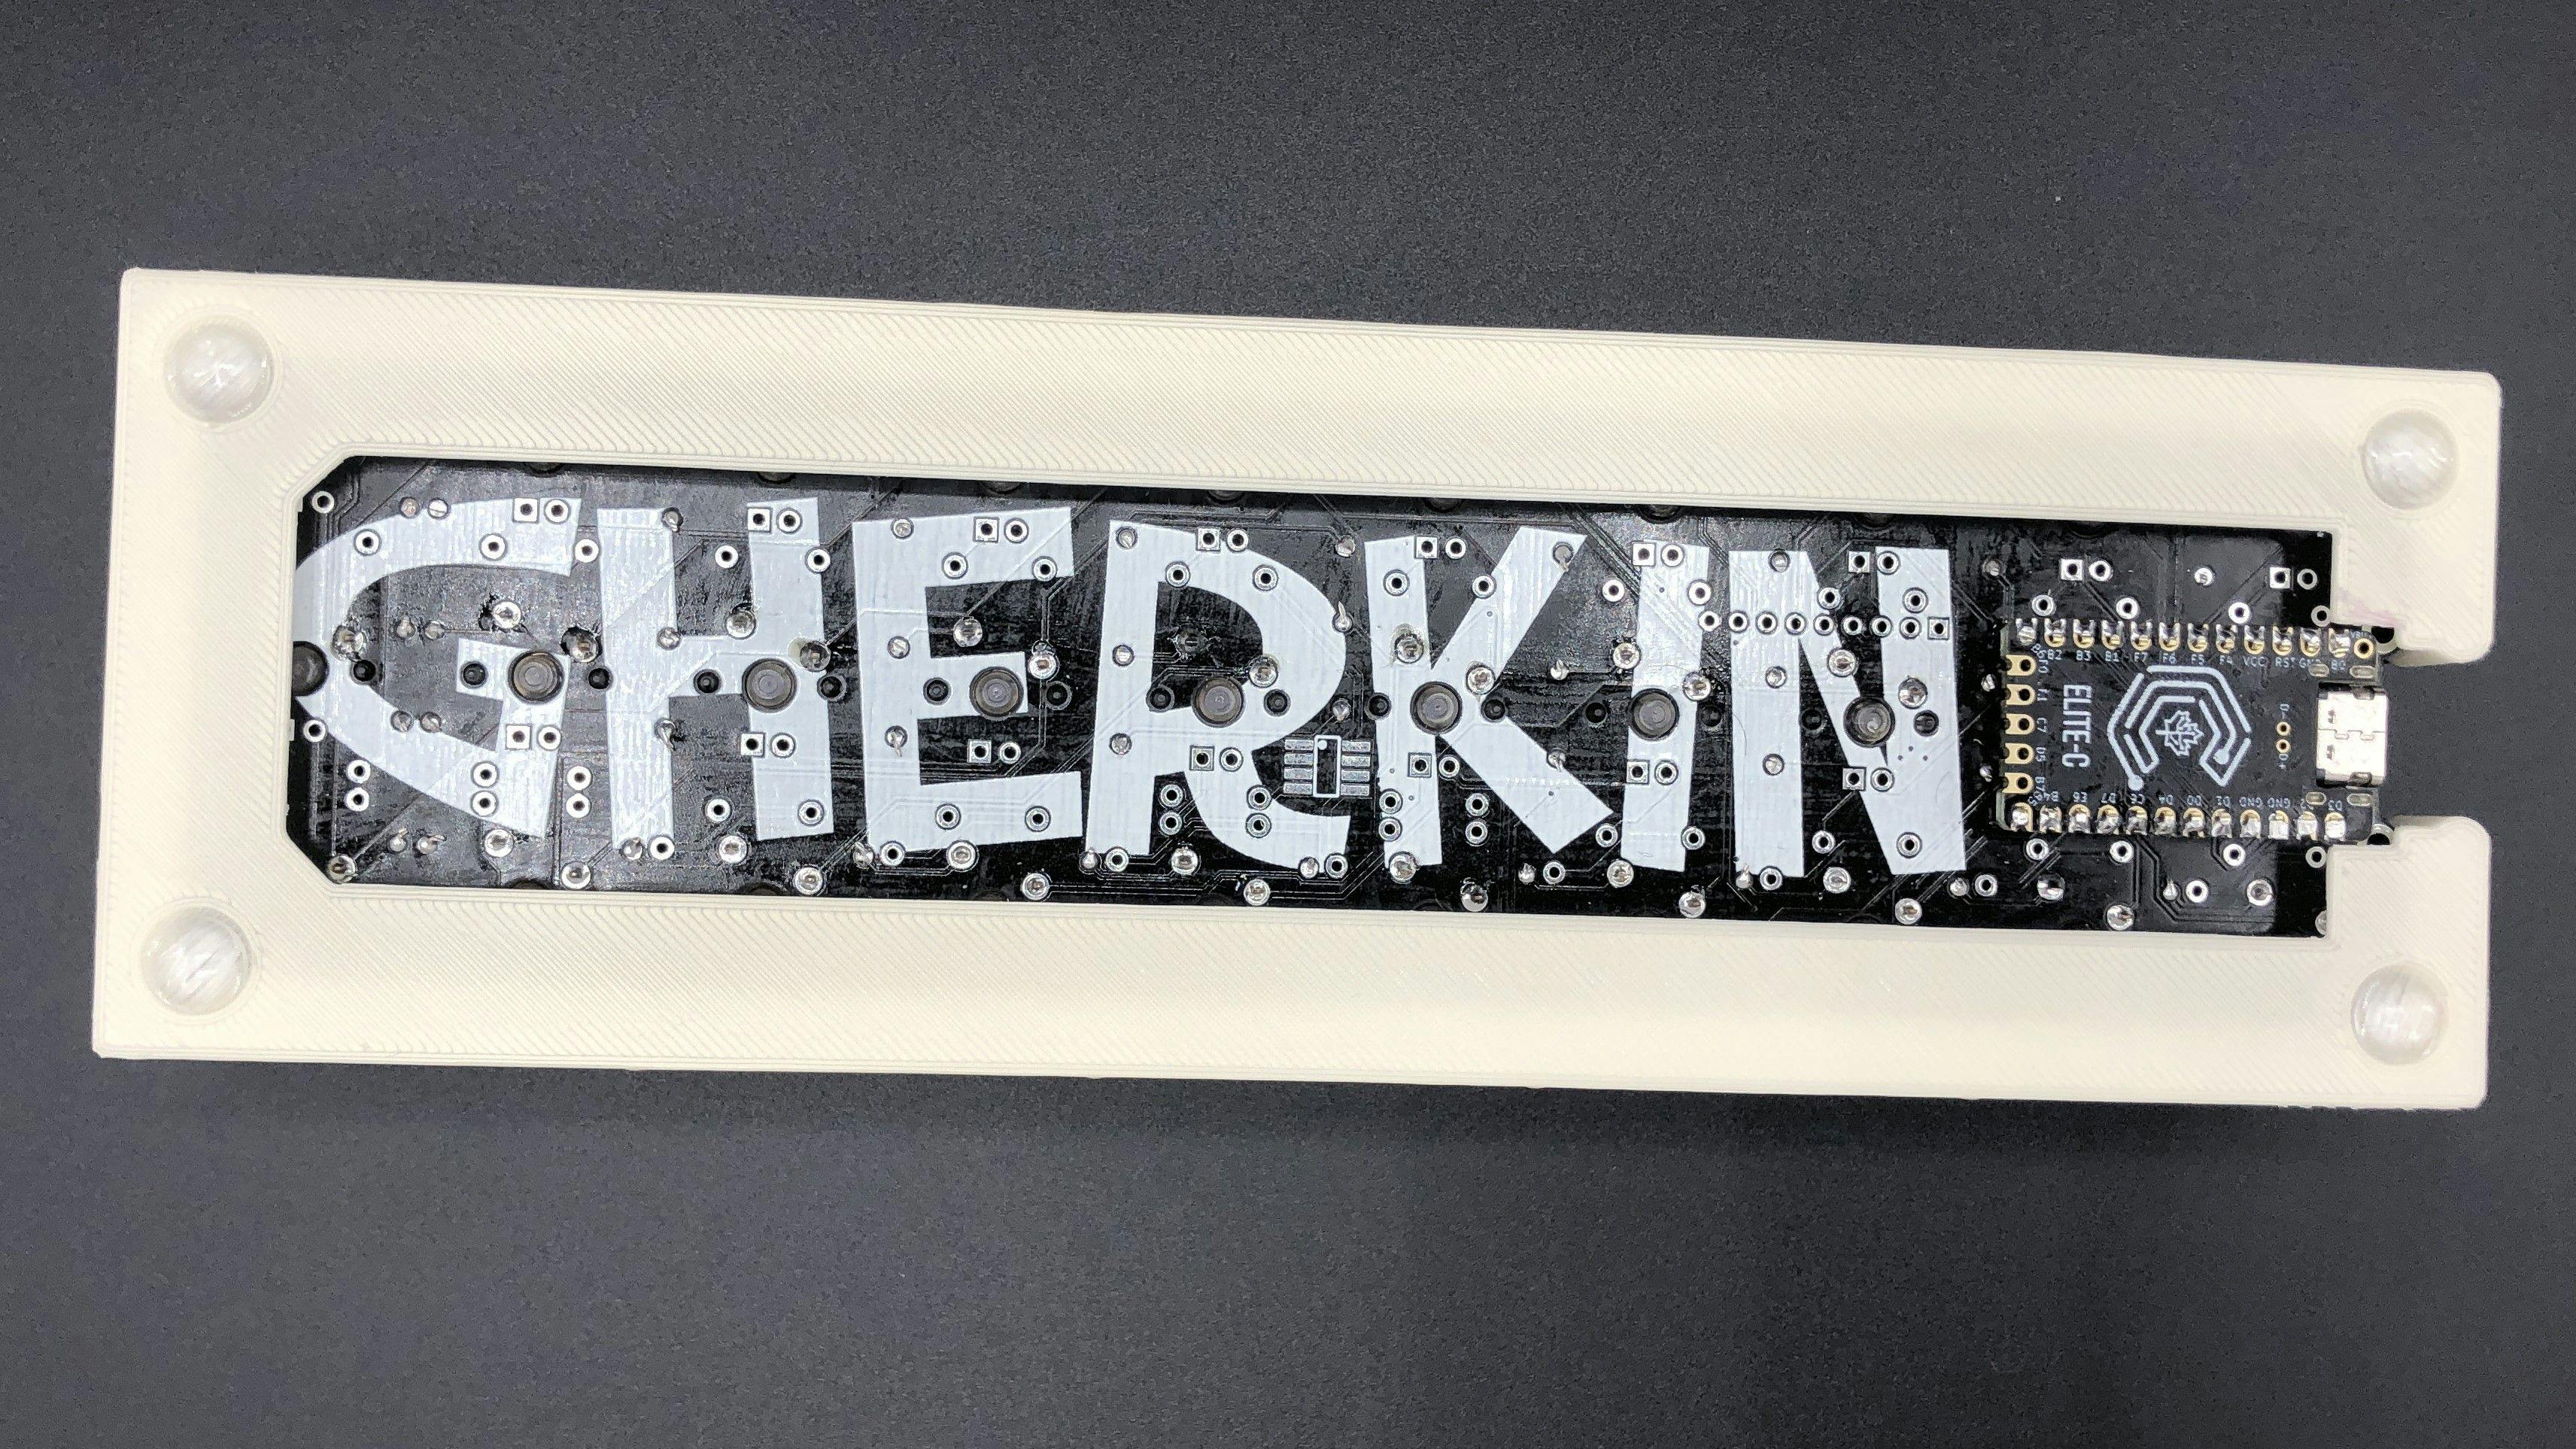
Finally, I didn't like that the bottom plate that comes with the kit covers the Gherkin PCB, which has the cool art on it. To work around that I designed and 3D printed a bottom plate. I was a bit sloppy with the PLA, so it has a tiny bit of leakage from the prior (red) roll I was using. The case fits the parts snugly, and if it wasn't for the anti-slip rubber domes the keyboard would sit too low to plug the usb cable.
parts
gherkin kit - the star of this show
elite c - way overkill, but looks pretty and the usb c is nice. Any pro micro will do and they go for about $5. Also best practices dictate that you should use a socket instead of soldering it directly.
switches - any will do, cherry, gateron… your call or that of your wallet. I have zilents on my main keyboard and aqua zilents on my cyberdeck. I decided to stick with the brand but I tried their standard Zealio ones this time. Not disappointed.
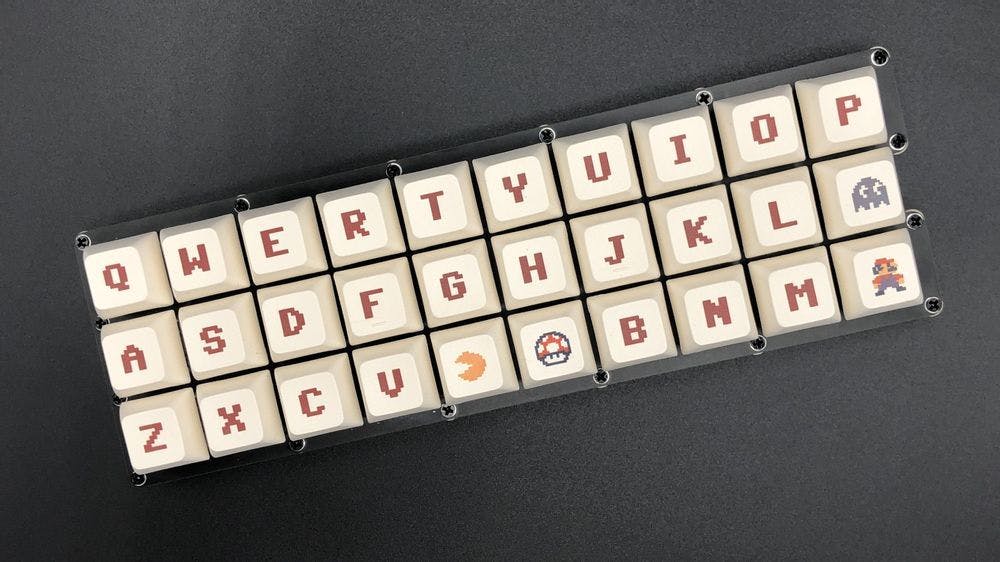
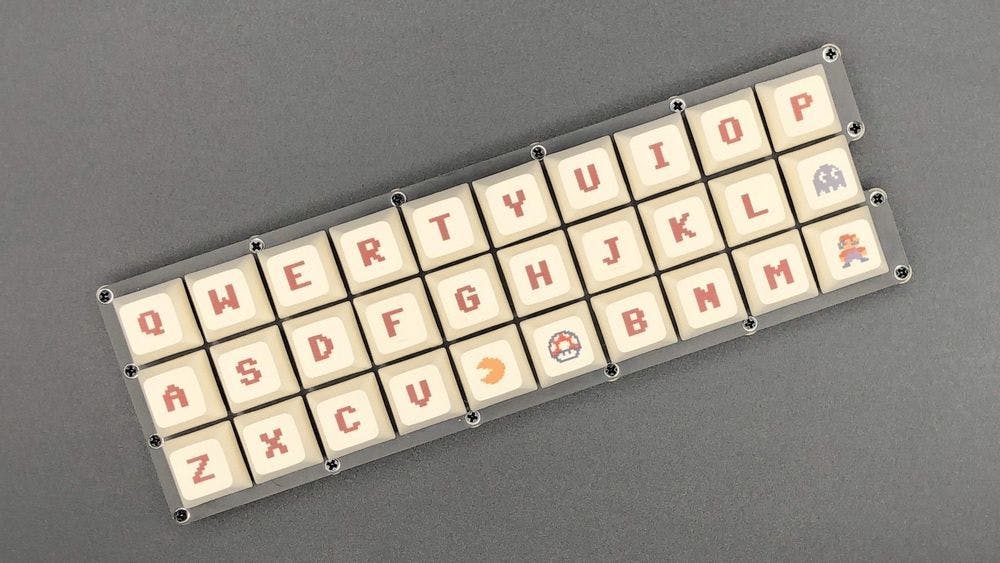
keycaps - Again, as long as they match your switches, any will do. I wish I had the Vans 8BitDo set. But alas I can't find it anywhere and it looks like Vans is not in business anymore, so this ones from amazon were the closer thing I found on the web.
stl files - for the bottom plate if you choose to use the one I designed

tools
smoke absorber - important if you solder with lead-based tin
micro cutter - to clip the tips after solder
ESD-safe brush - any brush will do to clean dust and remove residue
small bits and sundries electronics tools - they play well with the electric screwdriver
Optional - for the bottom plate if you don't use the one that came with it:
Prusa MK3s - 3D printer, there are plenty out there. This is the one I have and seems to be ok.
de-burring tool -to remove the brim on the printed part
knives to remove supports - To clean up some of the PLA on the corners where the de-burring tool had issues
consumables
tip tinner - to keep the solder iron in tip top condition
rosin - makes soldering easier
solder wire - I use the lead one because it is easier, but with enough skill you should be able to move to lead-free wires
99% ipa - great for cleaning residue.
M2 8mm screws - I like them better than the ones that came with it. The dark color and countersunk top look nicer than the zinc round heads imo.