MSG Cyberdeck - Parts

Last updated Fri Feb 25, 2022
This video shows how to switch between the Windows 10 in the NUC and the Debian Linux distro in the Raspberry Pi 4
To put the MSG together I used a lot of parts. And the vast majority ended up not working out. With that in mind, I will try to be as complete as possible listing the ones that actually ended up being used. Also, many choices were made to use stuff I had at hand, and better options may be available out there. Note that as an Amazon Associate I earn from qualifying purchases.
Main Components:
- NUC (sleek chassis) - without a doubt the biggest money pit in the whole build, up there with buying the prusa to 3dprint the case. You can swap it for the i3. I actually bought one and used it for testing. Or you could even bypass the whole nuc business and use the space for extra batteries and have a pi deck that runs for a couple of days.
- RAM - NUC Kit doesn't come with it, make sure to buy a compatible one since it is smaller than the regular sticks
- Hard Drive - again, the NUC kit doesn't come with that, I went with an NVME because it is snappy and doesn't add any volume to the build.
- raspberry pi 4b - I am using the 4GB of RAM one here, but it really comes down to what you are trying to do with it.
- planck keyboard - Bought one of those around the summer of 2019 and it has been my main driver since. When thinking on which one to use on my deck I went with more of the same. My “other” one is the EZ that comes ready to use, here I went for a more assembled version, since I wanted to keep flexibility on some things, I may replace the aluminum enclosure with a 3d printed one to make room for taller caps. stay tuned.
- x728 18650 ups
- 7 Inch screen
- 2 port kvm switch
- 18650 batteries (2x) - I have 4 of those, 2 is not really enough to get the thing going for a day. I will try to find room to add the other 2 at some point. That said, those are the highest capacity ones I saw around.
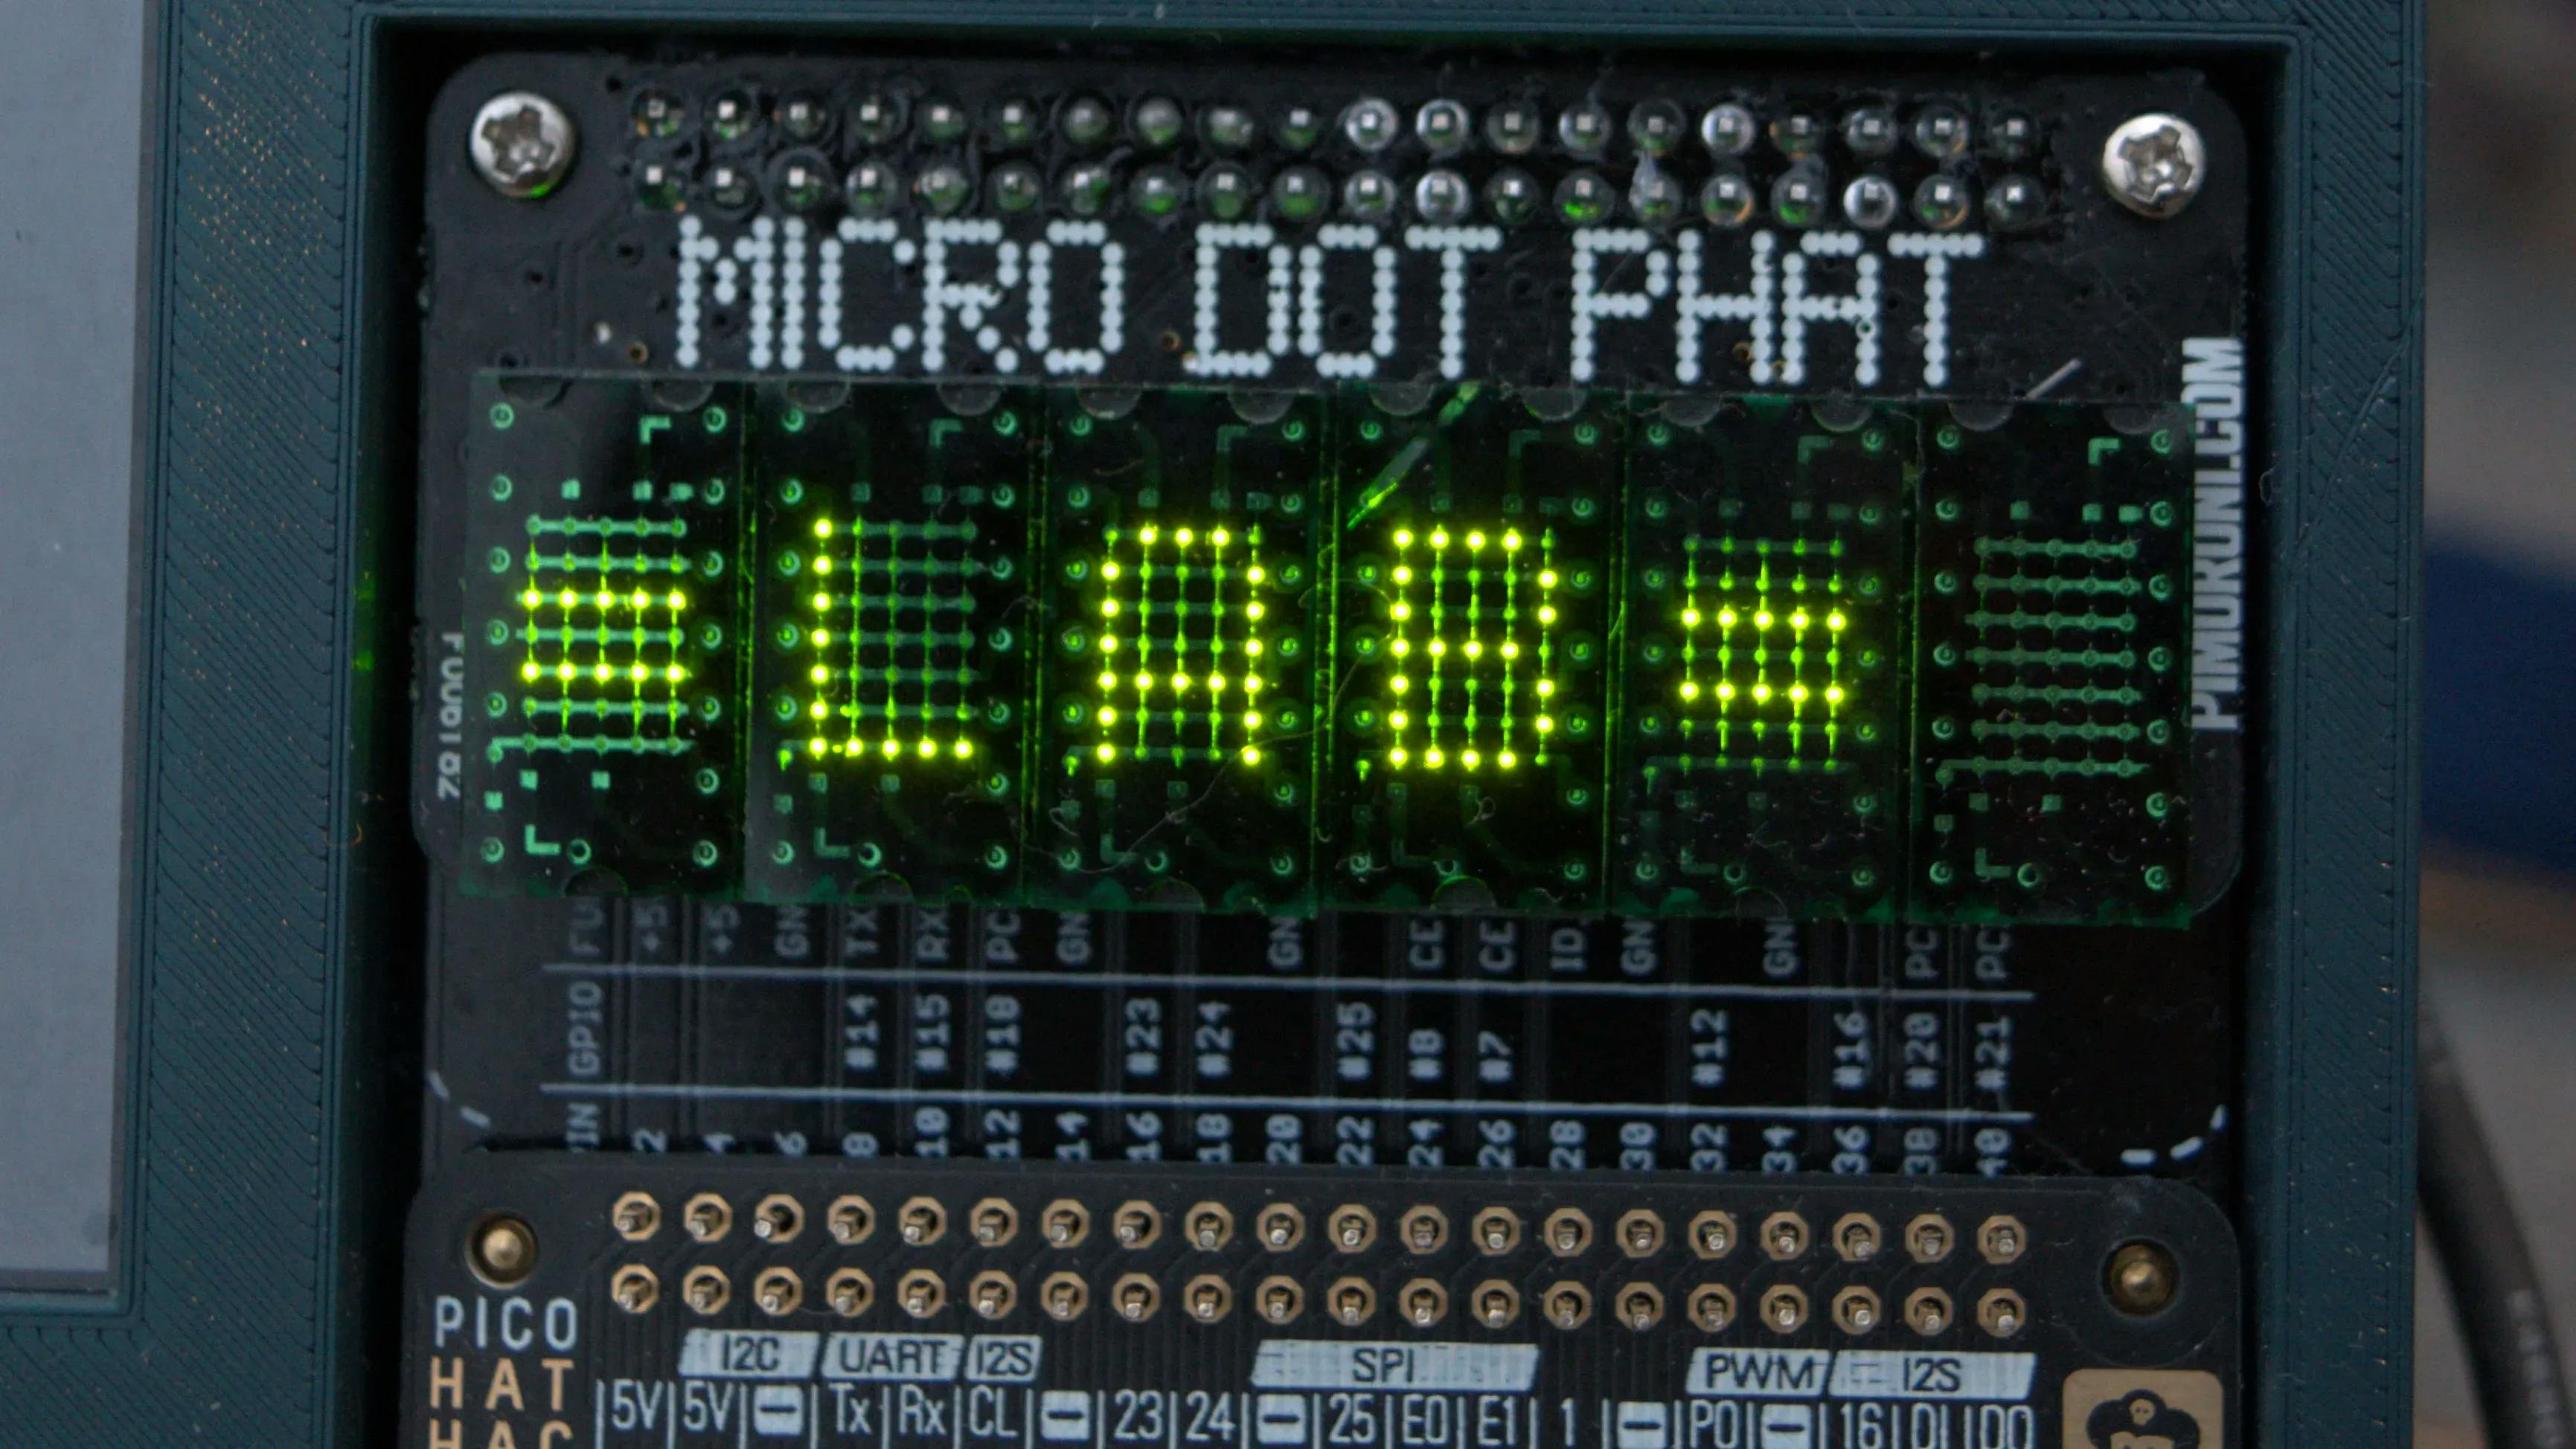
- micro dot phat
- usb huu - tinties hub I've seen, works pretty well. We use that because the kvm only gives 2 ports, one for the keyboard and one for the mouse. We break the one for the mouse to also provide a usb port for the lcd touch panel.
- zilent switches - I tried using some trash pandas from novelkeys, but the box under the keyboard acts as an echo chamber and makes them way to loud. zilents are ok.
- keycaps - the current build fits DSA profile (which i got form the on sale section of sa plastics), but I plan on adjusting it to accommodate cherry profiles since I am waiting on the GMK laser from last Drop.
- pla for main parts
- pla for accents
- mini hacker hat - this is what holds the micro dot phat. there is a lot of soldering behind it, because every pin of the ribbon need to be flipped and soldered, then the eInk pins have to be added as well in the back. It doesn't make sense but when you put it together it will be an a-ha! moment.
- hat hacker hat - That tops the tower of Pi hats, it actually helps holding the 18650s in place too. I don't really use the exposed gpio there, but that could change, maybe a DHT11….
- paracord for usb cable - vanity thing, but why not. There is some usb cable exposed to run the lcd screen and touch panel, so I went ahead and did a custom sleeveing there.
- female usb panel mount
- hook for strap
- 2.13 inch eInk screen
- pico hat hacker
- 6 inch HDMI Cable for NUC
- 16mm push button for SWX
- 16MM push button for RPI
- 16MM push button for NUC
- Noctua 40mm 5v fan - Make sure to buy a 10mm version that works off 5V. I am not using PWM, but you could use that to control the speed via the Raspberry Pi.
- hdmi cable for taspberry pi
- usb female jack
- 1ft HDMI cable for the screen
- D-ring for strap
- 90 degree angle for power cord
Screws & Co:
- short m3 screws 10mm are the most used here
- long m3 screws for the hinge
- Nylon washers for the hinge
- 5.5 x 2.5 mm barrel jack for power input
- 26 awg hook up wire
- m3 heat inserts
- m2.5 heat inserts
- 4pin connector for USB internal wiring
- jst-ph 2.0 connectors for wiring
- 3:1 heat shrink with glue
- micro usb male connectors
- usb male connectors
The main part actually used was patience, but I wasn't able to find that one in stock to share a link